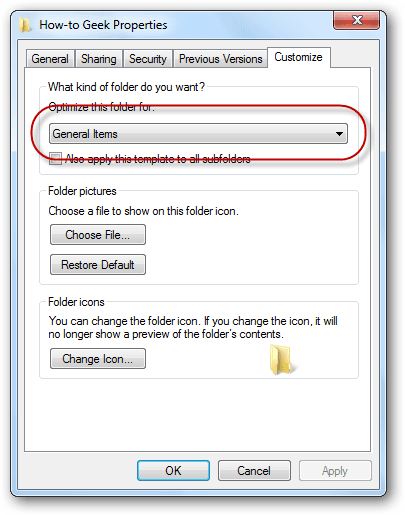
Choose a folder that is typical of the folders that you wish to have this default template. Select it in Windows Explorer. To ensure that it is a suitable candidate, right-click the folder name and select Properties, then go to the Customize tab. Ensure that this folder is marked as General Items. If it is not, either choose a different folder or select General Items from the list.
 Click OK. Now we’re ready to customize our first folder.
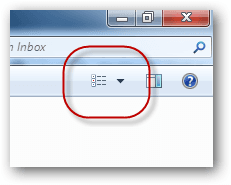
Changing the way one single folder is presented is straightforward. We start with the folder’s display type. Click the Change your view button in the top-right corner of every Explorer window.
 Each time you click the button, the folder’s view cycles to the next view type. Alternatively you can click the little down-arrow next to the button to see all the display types at once, and select the one you want.
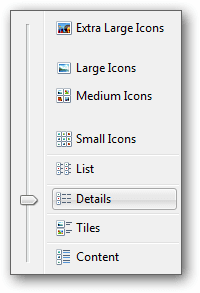
Click the view you want, or drag the slider next to the one you want.
If you have chosen Details, then the next thing you may wish to change is which columns are displayed, and the order of these. To choose which columns are displayed, simply right-click on any column heading. A list of the columns currently being display appears.
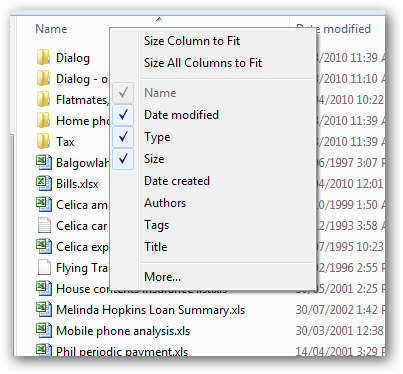 Simply uncheck a column if you don’t want it displayed, and check the columns that you want displayed. If you want some information displayed about your files that is not listed here, then click the More… button for a full list of file attributes.
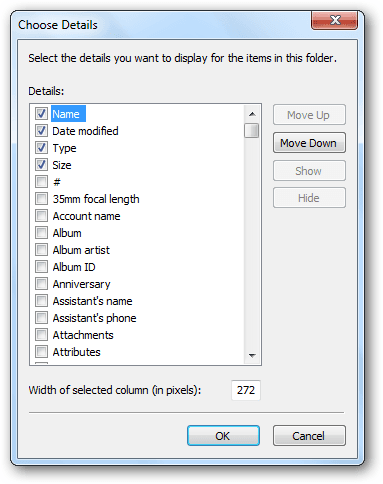 There’s a lot of them!
To change the order of the columns that are currently being displayed, simply click on a column heading and drag it to where you think it should be.
To sort by a column, click once on that column. To reverse the sort-order, click that same column again.
To change the groupings of the files in the folder, right-click in a blank area of the folder, select Group by, and select the appropriate column.
Apply This Default Template to All Similar Folders
Once you have the folder exactly the way you want it, we now use this folder as our default template for most of the folders in our file system. To do this, ensure that you are still in the folder you just customized, and then, from the Organize menu in Explorer, click onFolder and search options.
 Then select the View tab and click the Apply to Folders button.
 After you’ve clicked OK, visit some of the other folders in your file system. You should see that most have taken on these new settings.
What we’ve just done, in effect, is we have customized the General Items template. This is one of five templates that Windows Explorer uses to display folder contents. The five templates are called (in Windows 7):
- General Items
- Documents
- Pictures
- Music
- Videos
When a folder is opened, Windows Explorer examines the contents to see if it can automatically determine which folder template to use to display the folder contents. If it is not obvious that the folder contents falls into any of the last four templates, then Windows Explorer chooses the General Items template. That’s why most of the folders in your file system are shown using the General Items template.
Note: The only folders that will inherit these settings are the ones that are currently (or will soon be) using the Music template.
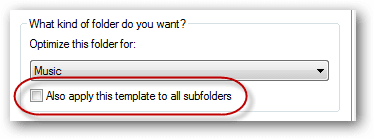
Now, if you have any folder that contains music items, and you want it to inherit all of these settings, then right-click the folder name, choose Properties, and select that this folder should use the Music template. You can also cehck the box entitled Also apply this template to all subfolders if you want to save yourself even more time with all the sub-folders.
 Written by Marsha Burdick